1Classify your instruments
| Category | Examples | Required processing |
|---|---|---|
| Critical | Forceps, scalpels, scalers, surgical burs, periodontal instruments | Heat sterilization, packaged |
| Semicritical | Mirrors, amalgam condensers, impression trays, handpieces | Heat sterilization (if heat-tolerant), otherwise HLD |
| Noncritical | Radiograph head, light handle | Barrier or low/intermediate-level disinfection |
Semicritical instruments in dentistry touch mucous membranes but not bone; because most are heat-tolerant, the CDC still requires them to be sterilized.
2The dental sterilization process
- Transport contaminated instruments in a covered, puncture-resistant container.
- Clean in an ultrasonic cleaner or instrument washer — avoid hand-scrubbing sharp items. See ultrasonic vs washer-disinfector.
- Rinse, dry and inspect for residual debris and damage.
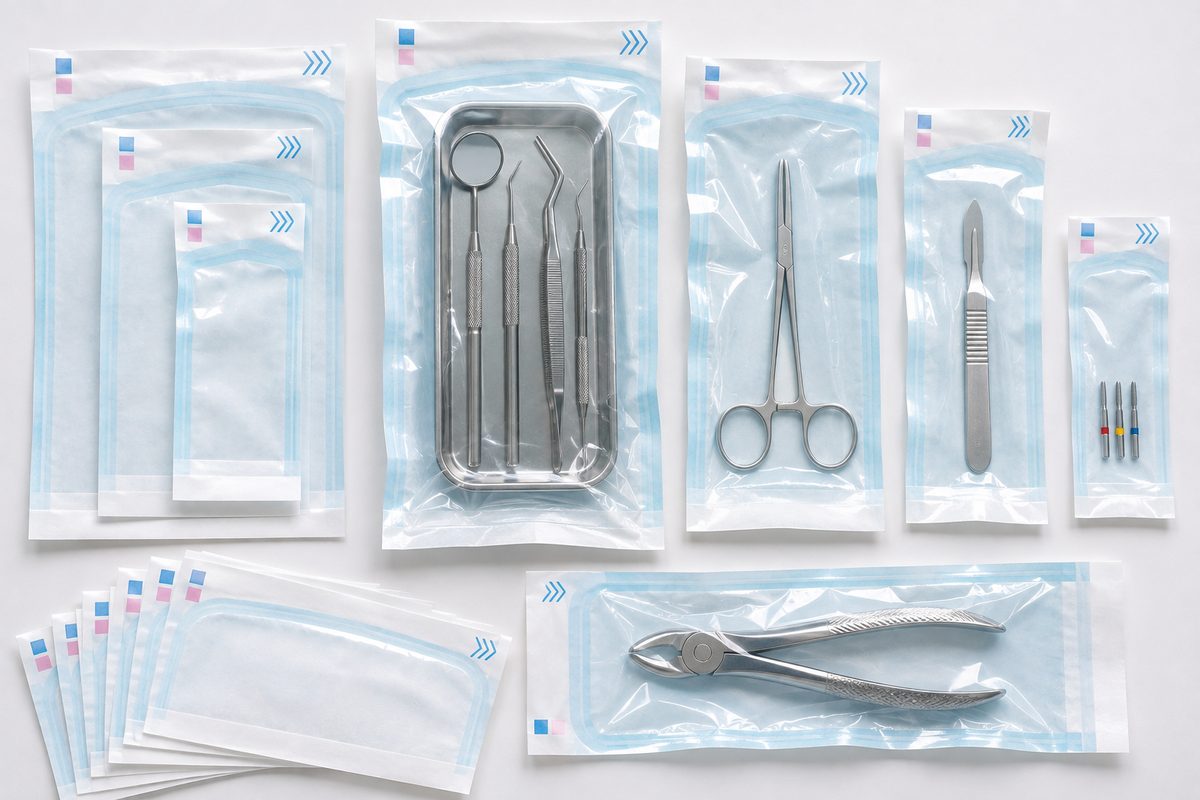
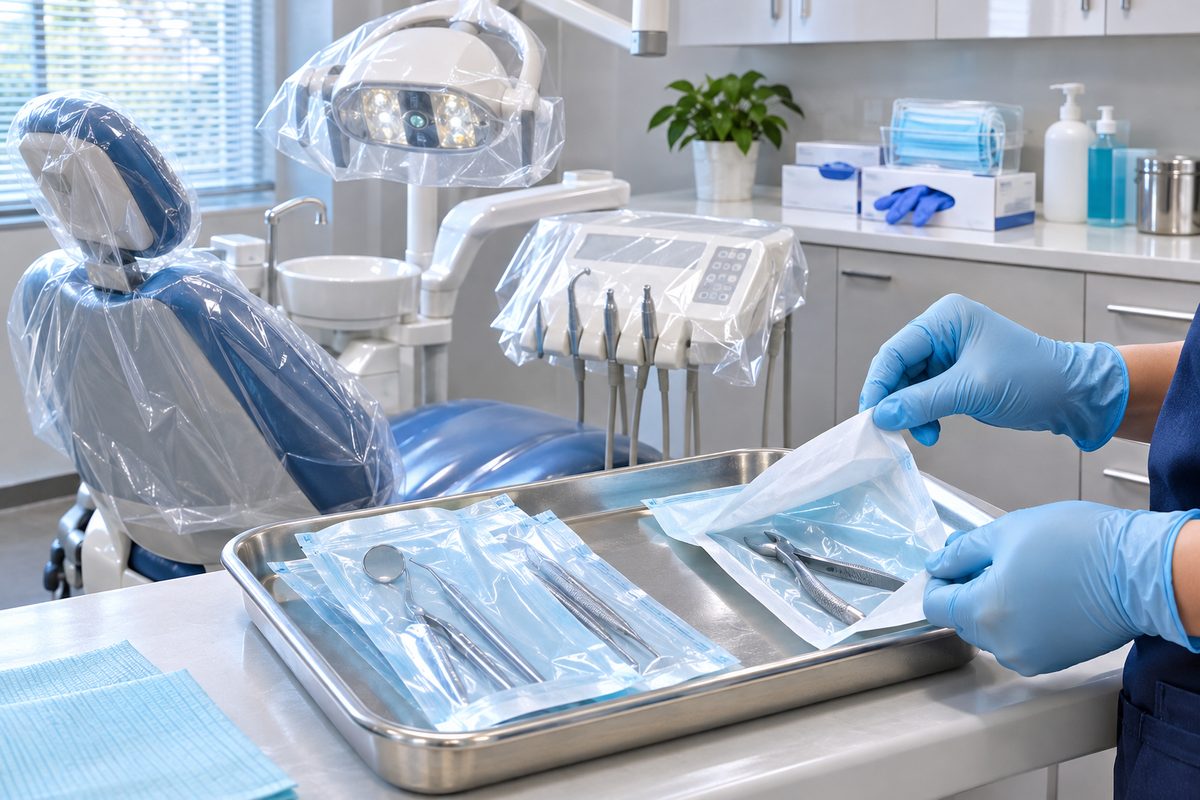
- Package in self-sealing sterilization pouches or wrapped cassettes. Put a Class 4 or Class 5 indicator inside if the pouch has only an external indicator.
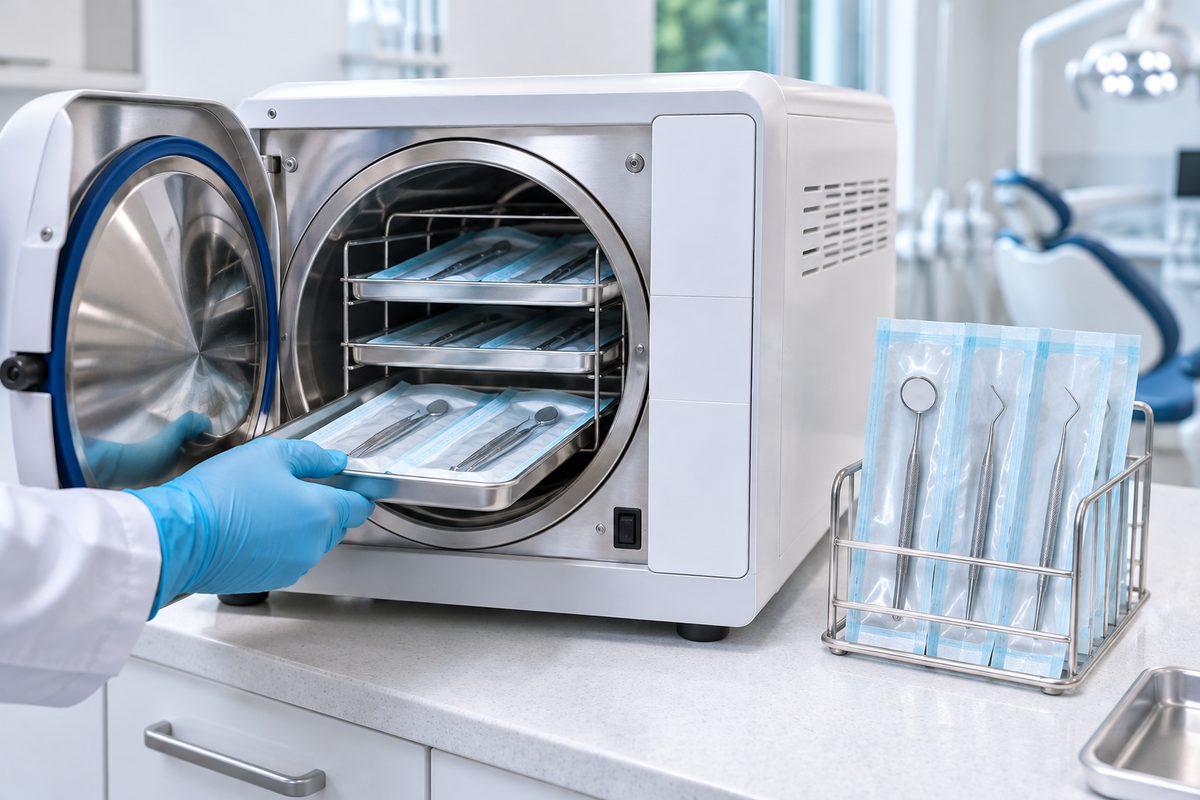
- Sterilize in a validated cycle — most clinics use a Class B autoclave at 134 °C.
- Dry and cool in the chamber; check indicators and the cycle printout.
- Store packages in closed drawers or cabinets; open at chairside in front of the patient.
3Burs, endodontic files and handpieces
The most effective way to sterilize dental burs is to clean them in a bur block in the ultrasonic cleaner, then steam-sterilize them packaged in a pouch or bur holder; carbide burs may be dry-heat-sterilized to avoid corrosion. Single-use burs and files should not be reprocessed. Handpieces must be cleaned, lubricated and heat-sterilized between patients — see dental handpiece sterilization.
4Monitoring and records (OSHA & CDC)
- Chemical indicator in or on every package — check before use.
- Biological spore test at least weekly (how to spore test).
- Sterilizer log: date, cycle, load contents, results, operator.
- OSHA's Bloodborne Pathogens Standard governs staff protection: PPE, sharps handling, training and the exposure control plan. See infection control in dentistry.
5Setting up the sterilization area
Designate four zones in a straight line — receiving/cleaning, preparation/packaging, sterilization, storage — and never store sterile packs under the sink. A dental sterilization center or cabinet system with separate dirty and clean sides makes the flow obvious to staff.
6Consumables checklist for dental clinics
Self-sealing pouches in 57 × 100 mm to 135 × 260 mm sizes, steam indicator tape for cassette wraps, Class 4 indicator strips, flat reels for long instruments and spore tests. Kangde Med supplies clinics and dental distributors with all of these — see dental clinic solutions.
7Frequently asked questions
What are the OSHA dental sterilization guidelines?
OSHA focuses on worker protection under the Bloodborne Pathogens Standard; the instrument reprocessing steps themselves follow CDC guidance — cleaning, packaging, heat sterilization, monitoring and proper storage.
Do semicritical dental instruments need to be sterilized?
Yes, if they are heat-tolerant. The CDC recommends heat sterilization for all heat-tolerant semicritical dental instruments, which covers most of them.
How should sterilized dental instruments be stored?
In their sealed pouches or wrapped cassettes, in closed, dry cabinets or drawers away from sinks and splash zones, until opened at chairside.
Can dental instruments be sterilized without pouches?
Unwrapped cycles are only for immediate use. Instruments intended for storage must be packaged so they remain sterile until opened.